Getting Started
Each project’s source code and issue tracker are hosted on GitHub. Before making your first contributing you will need a GitHub account. If you don’t already have an account visit https://github.com/join .
Issues
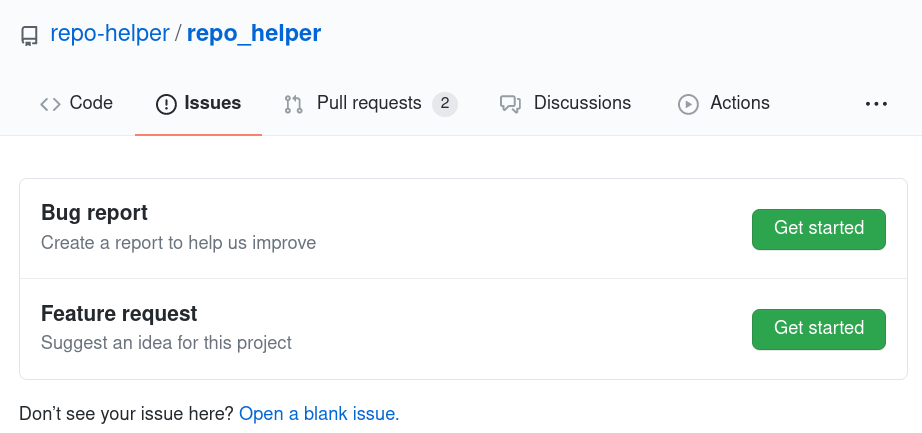
Issues can be reported using the issue trackers on GitHub. Click the Issues tab at the top of the repository’s page and then click the green New button. You’ll be presented with a list of issue templates to choose from:
Once you’ve chosen the template that best fits your issue you’ll see a template like this:
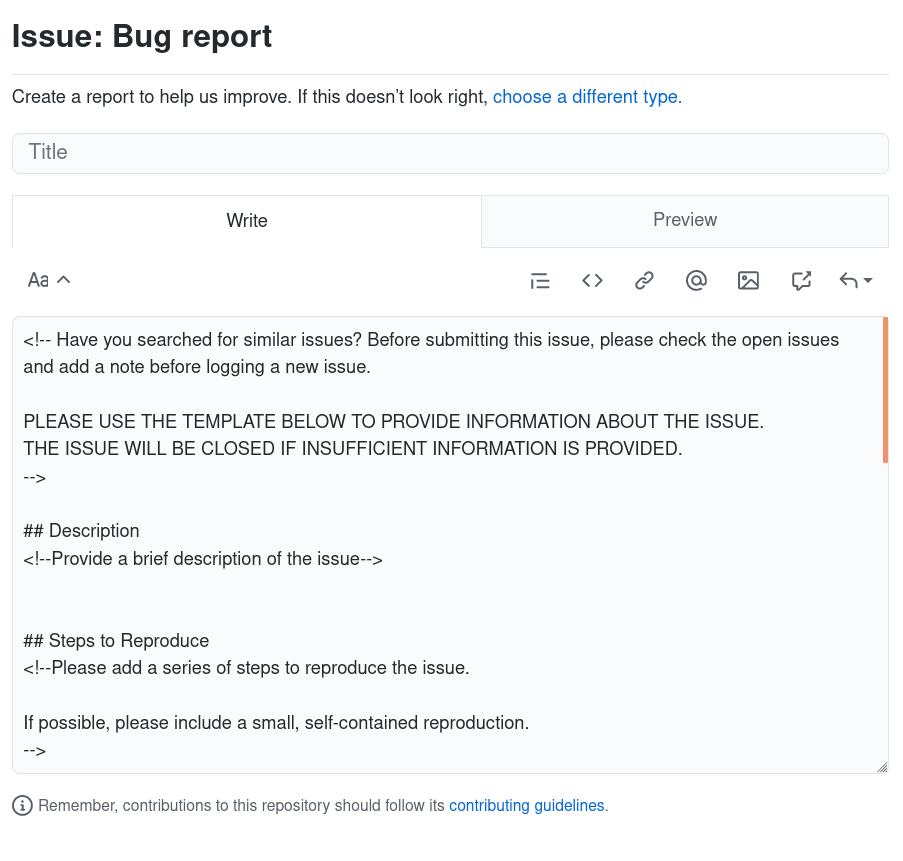
Feel free to remove any sections which you don’t think are relevant.
Making Changes
Before making changes to the code you will need to fork the repository and clone your fork. GitHub have an excellent guide to this at https://guides.github.com/activities/forking/.
Once you have done this you’ll need to set up your development environment. The recommended tool is pyproject-devenv, which will automatically install the project’s runtime, build and test requirements:
cd <project_dir>
python3 -m pip install pyproject-devenv
pyproject-devenv
This will create the virtualenv in the venv directory.
Alternatively you can use virtualenv and install the dependencies with pip manually.
In either case, be sure to activate the virtual environment. With bash:
source venv/bin/ACTIVATE
(sphinx-toolbox) $